Create Your Own Free Private VPN
In this blogpost I will guide you on how to make your own free and private VPN.
Content:
- A quick explaination of what is VPN and why it’s important.
- Why would you want to make your own rather than using others’ vpn services.
- A step by step walkthrough of how to get and create your own free VPS and setup OpenVPN.
- Sharing my hack to avoid your VPS gets deleted (Idle Instance Reclamation).
What is VPN ?
A VPN is a Virtual Private Network
It’s a service which creates secure encrypted connection between two points (Such as your PC and your VPN server), And tunneling all the traffic through. Thus it enables users from remote public networks to be able to connect to a private network.
Also, It can be used to improve the privacy of the user by encrypting all his traffic and disguising his identity and the location of his internet activities.
Why VPN is useful ?
- Secure encryption, No one can eavesdrop on your internet activity, not even your ISP.
- Disguise your identity, You can use a VPN server in a different country so all your internet activities appear to be coming from that country.
- Bypassing censorship.
- Ability to connect to your company’s private network securely.
What are the benefits of making your own VPN?
Why would want to make your own vpn? There’s many free/paid vpn services out there.
Because simply:
- No cost, It’s free!.
- Ensures your privacy, VPN services can collect and sell your data.
- You are in charge of your data, The server is under your control (you can disable logs, add extra security measurements.. etcs)
- You get full internet speed and fair latency out of your vpn (It depends on your server’s bandwidth and location).
- Websites and services likely won’t detect your VPN, since your IP address won’t be on any IP block lists.
How to make your own VPN for free ?
In order to make our own VPN we need a server (VPS) where we can setup the VPN, right?
How can we get a free reliable VPS then?
The answer is Oracle Cloud. Oracle Cloud offers “Always Free” tier
What is Oracle Cloud Always Free tier?
Oracle provides some services for free. For us, the important services included in the Free tier are:
- 2 AMD based Compute VMs with 1/8 OCPU** and 1 GB memory each
- 10TB of traffic
- Network bandwidth (Gbps): 0.48
OCPU is Oracle CPU and it’s a unit of measurement oracle uses.
More information here: OCPU Info
There’s more services offered by the Always Free Tier which out-of-scope for this article. But can read more info here
How we can sign up for Oracle Cloud Free tier?
All you need to be eligible for the free tier is to have an account verified by a credit card (It’s a protective step to prevent service abuse). The company promises that it will never be charged. I have been using it for a while and never been charged any dime.
Keep in mind in order to verify the credit card it will charge you with less than 1$ and it will get refunded shortly.
Create Account Walkthrough
Sign up for account here
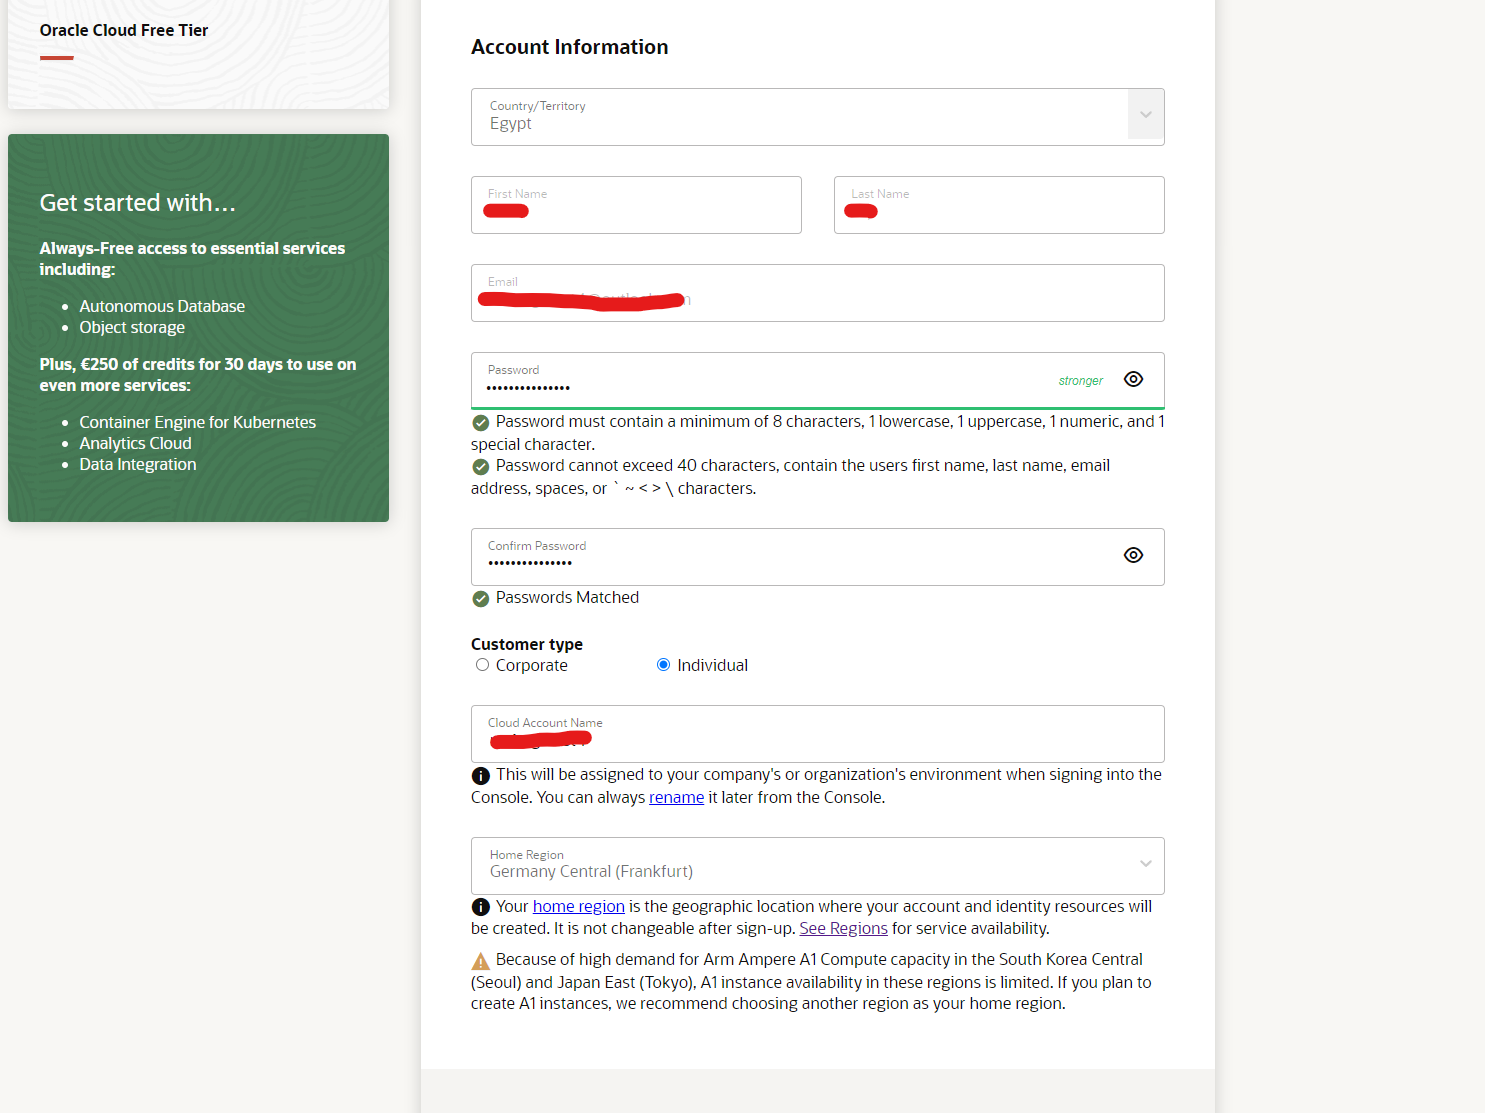
Fill your information ( First, Last Name, Email Address, Country)
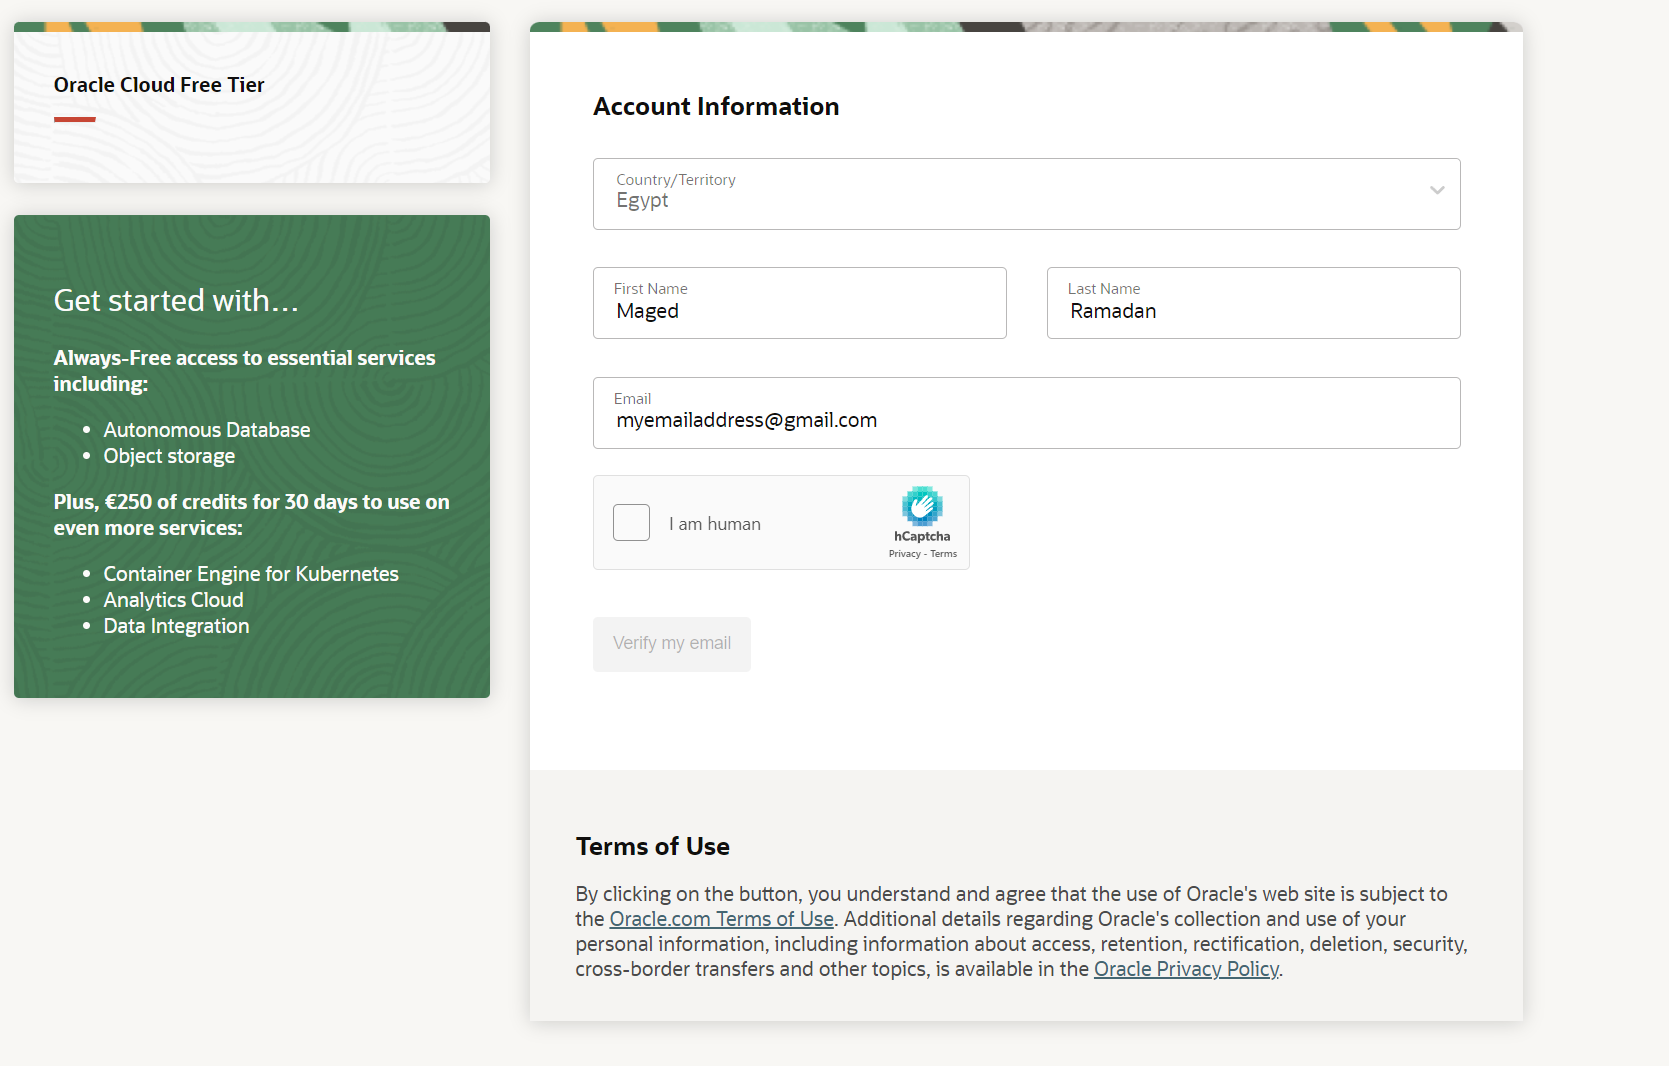
- You’ll be sent an Email link to verify your Email address (Check your Email and Click on the link)
- Type a strong password and choose “Customer Type” = “Individual”, Choose your Home Region, Choose what suits you, I prefer Germany
Note: Keep in mind “Home Region” will play big rule regarding the latency “so choose wisely” If latency is your big priority choose the closest region to you as possible.
Then you will be asked to fill in more information like your Address, City, Phone Number.
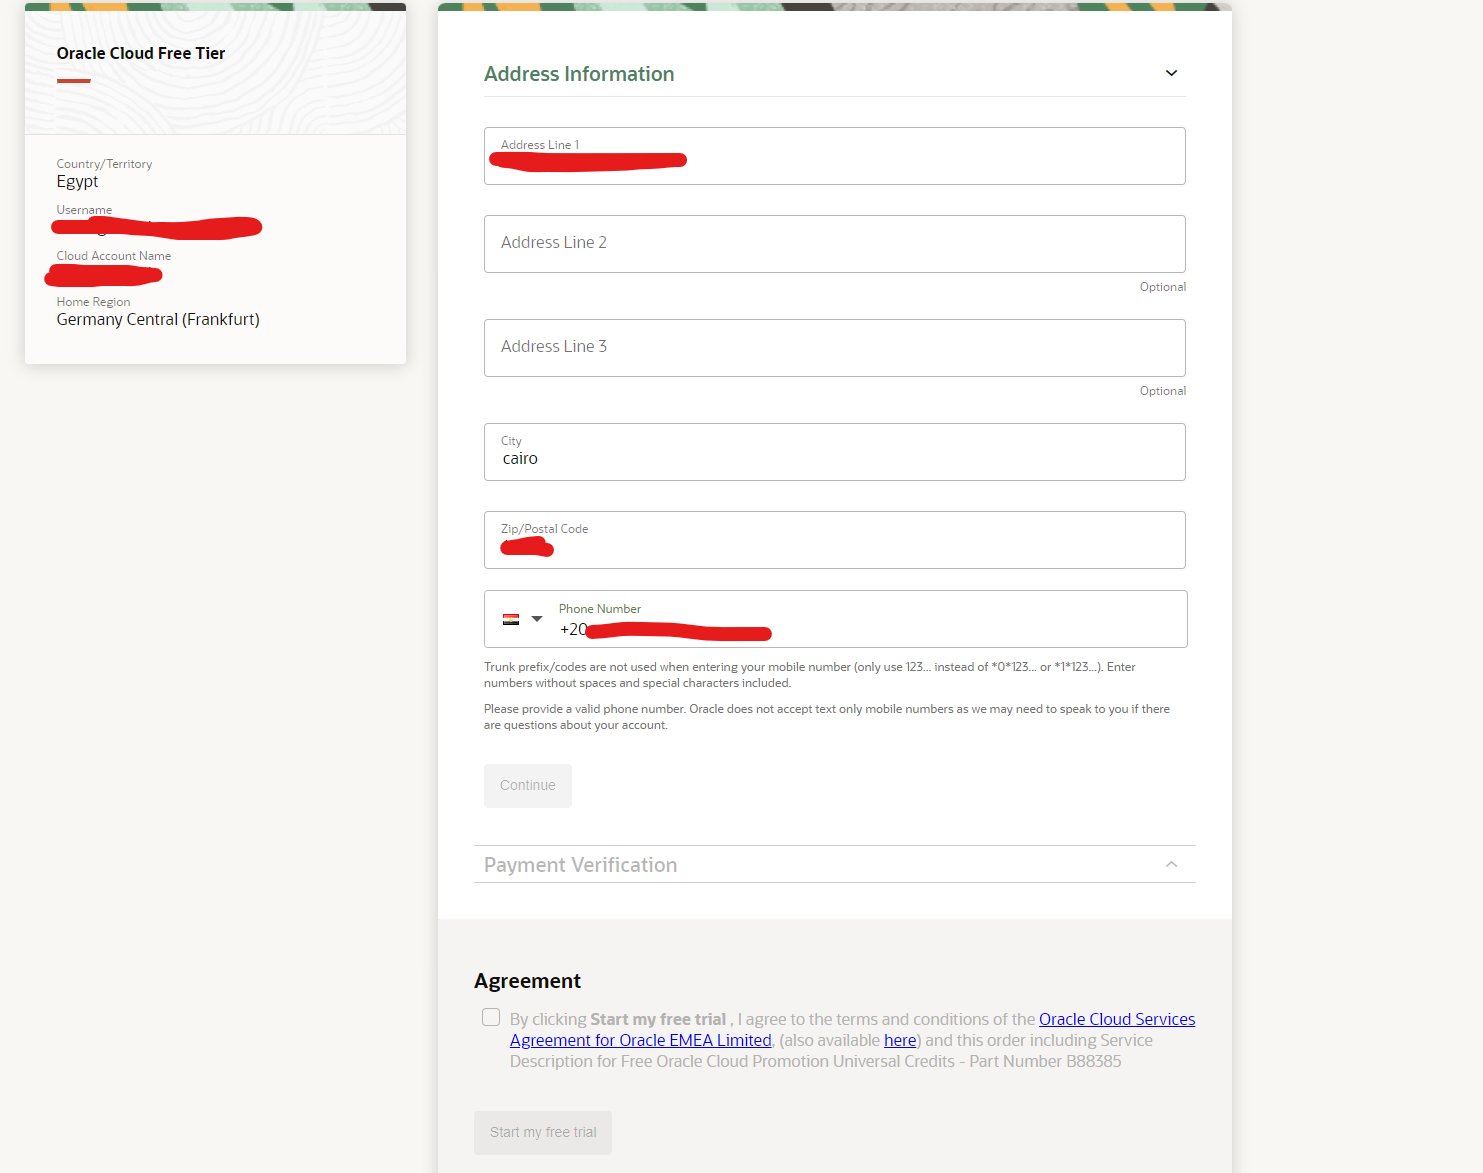
After providing all the required information, you’ll need to provide your credit card information
Once you’re done and the credit card verified. You are successfully created your Free tier Account
Create a VM Instance Walkthrough
Since you’ve created your free tier account, It’s time to create our Server that we will use to setup the VPN.
At the “Get started” Page scoll down to “Launch resources” tab and choose “Create a VM Instance” Or use the following link
Type your chosen name of the instance “This is going to be the server’s hostname”
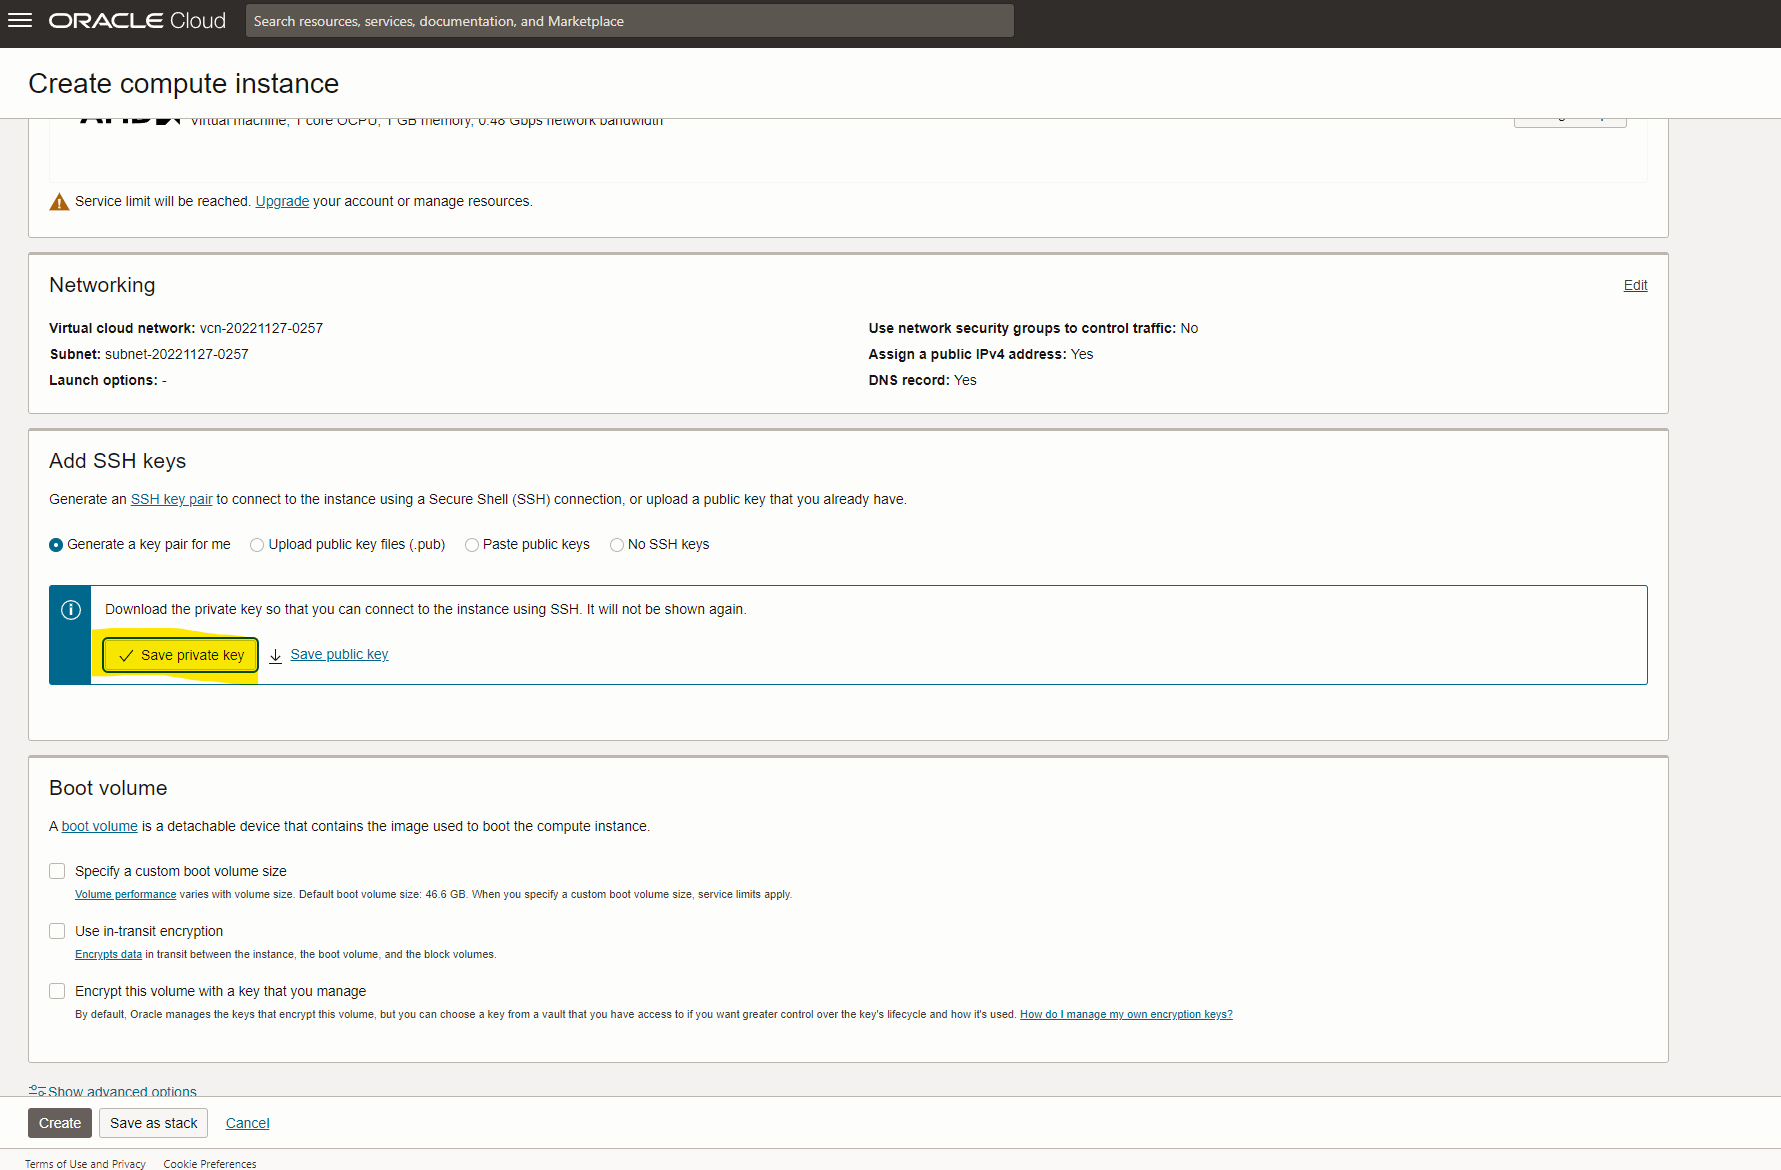
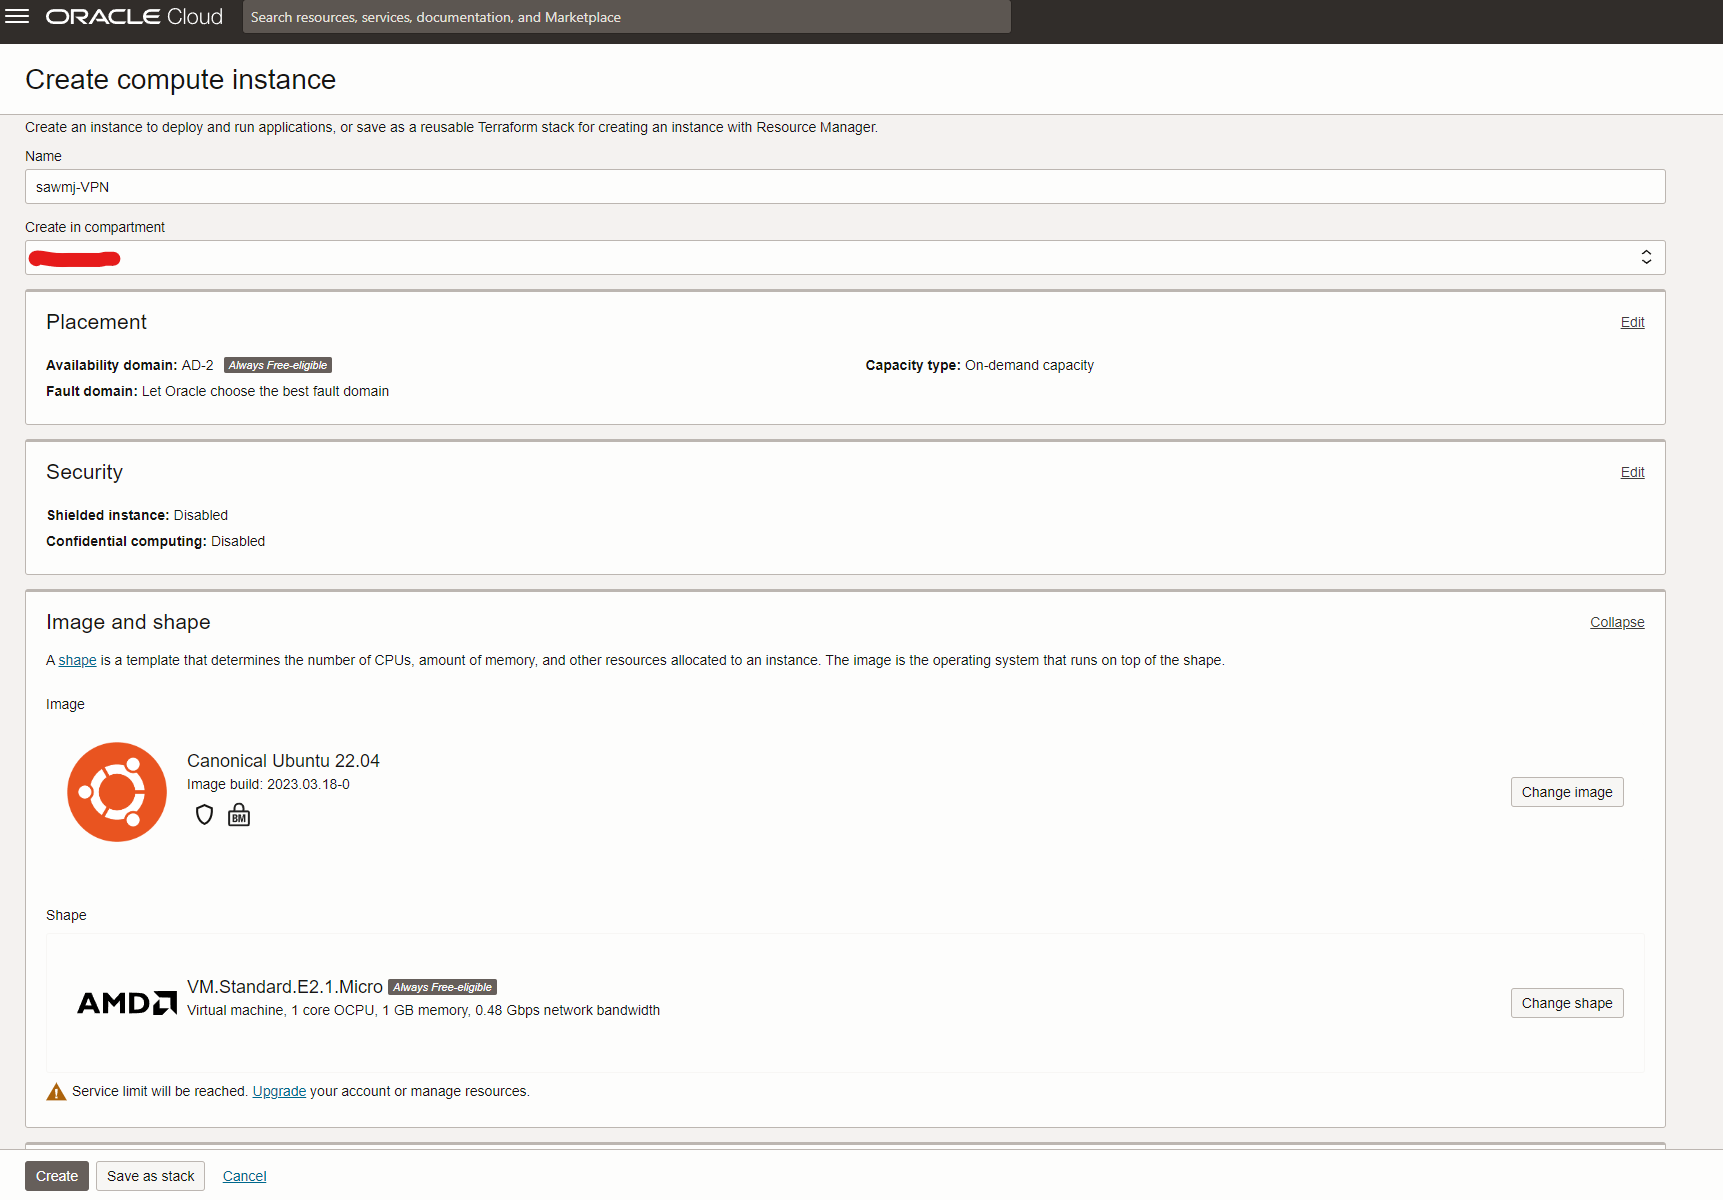
At “Image and shape” Tab ,Make sure the chosen “Shape” is “VM.Standard.E2.1.Micro”, Press “Change Image” and choose “Ubuntu 22.04” Image. Just like the image below:
At the “Add SSH Keys” Tab make sure you select “Generate a key pair for me” and press “Save private key” to download the SSH Key (Very important), As this key will gets you connected to the server.
Leave everything else default and press “Create”
Now you’ve created your Free VPS!
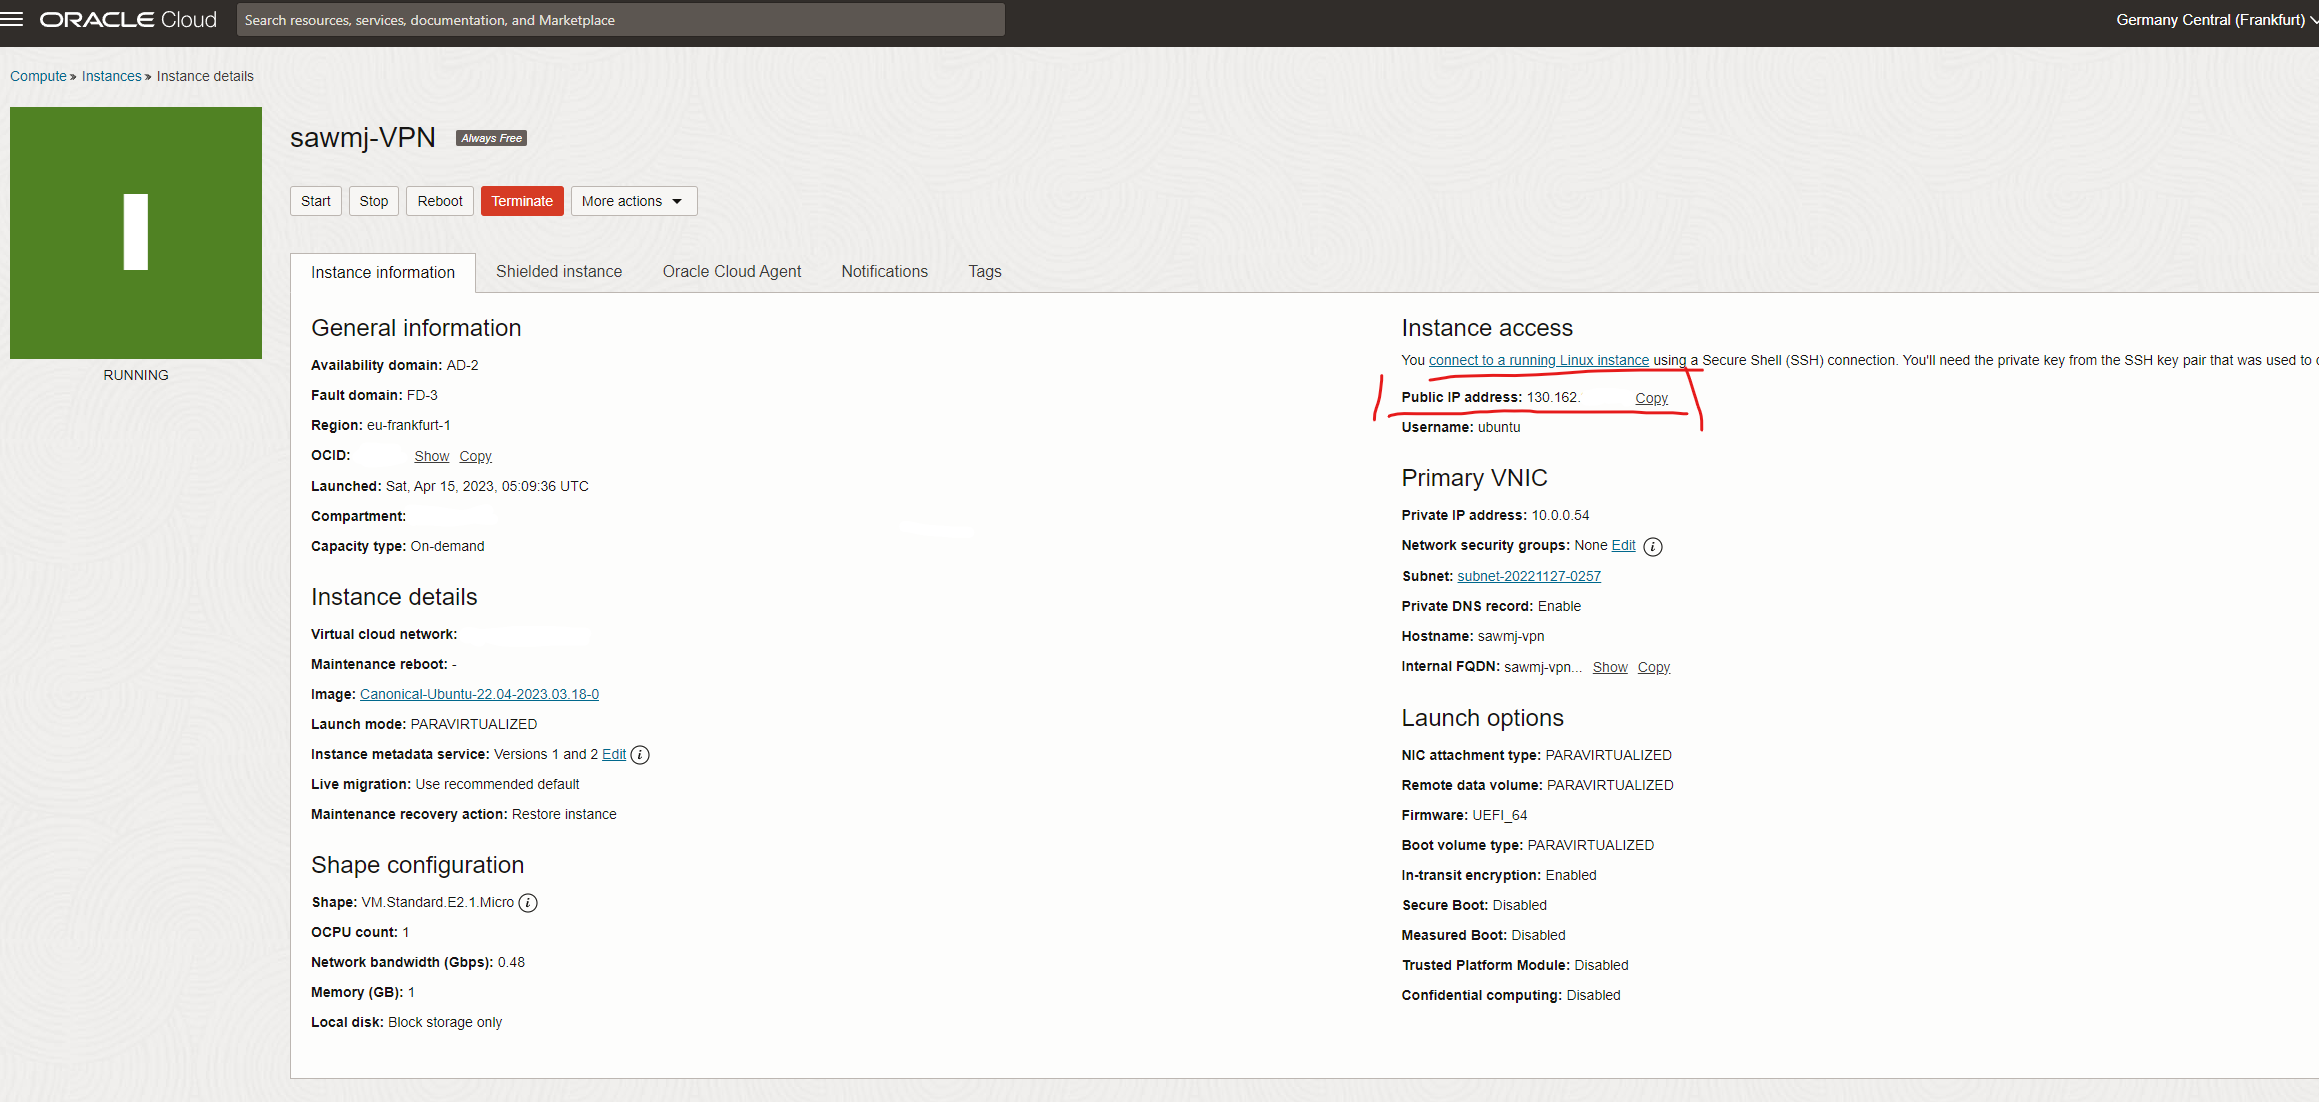
- In order to control your VPS (Stop, Start, Monitor.. etc) go to https://cloud.oracle.com/compute/instances
- Choose the instance you recently created, Grab and copy the Public IP
Connecting to the Server (VPS)
Now we need to connect to the server by using SSH.
- Open your Windows Terminal and SSH into the server,
Open the location where you saved your SSH Key, Press (Shift + Right Click) and choose “Open in Terminal”
- In terminal we will use SSH to connect to the server by the following command
1
ssh ubuntu@<Server Public IP> -i <SSH Key File> - If everything is done correctly you should be successfully connected to the server
Just like the screenshot below: 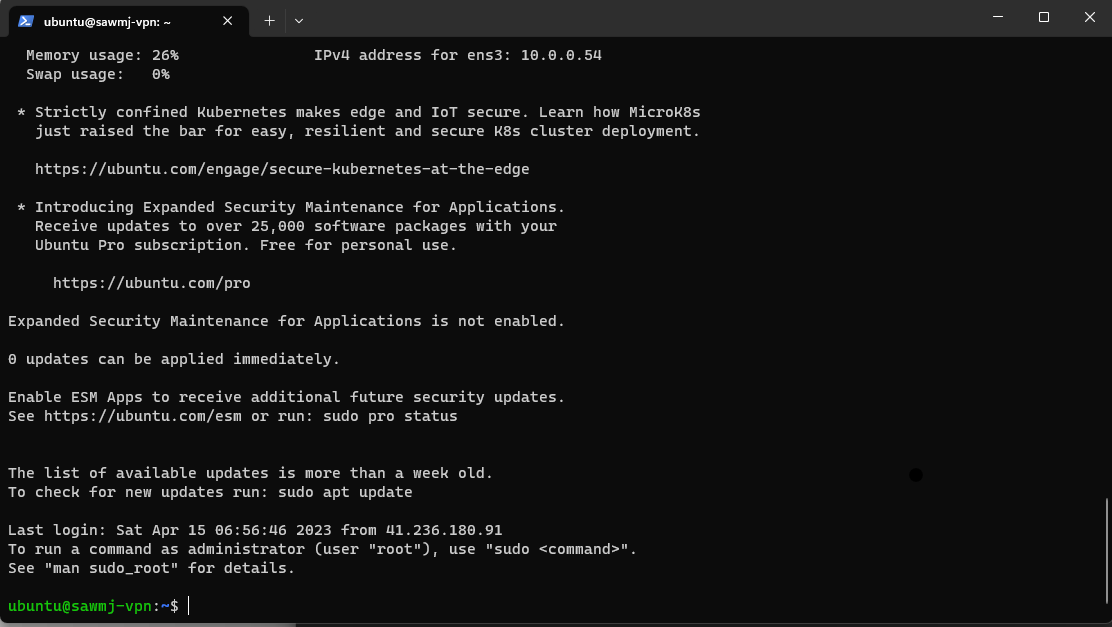
Setting up the Server
- Make sure your system is up to data by using the following commands
1
sudo apt update && sudo apt upgrade -y
Let the command run it might take a second and if prompted just press enter.
- Now we need to set a password for our username
1
sudo passwd ubuntu
You will be prompted for New password, Type a strong password.
- Now you have completed setup your server, it’s time to restart the system so any change made can take effect.
1
sudo reboot
I would really advise to try hardening the access to the server by requiring both password and ssh key and changing the username I won’t go through how to do it in this tutorial (To keep it short and simple) but I might write another blog just for that.
Setting up the OpenVPN
Now we have reached the step that we’re waiting for which is setting up our VPN server.
To make it easy and simple, We are going to use a script that automate the process of installing OpenVPN and configure it for us.
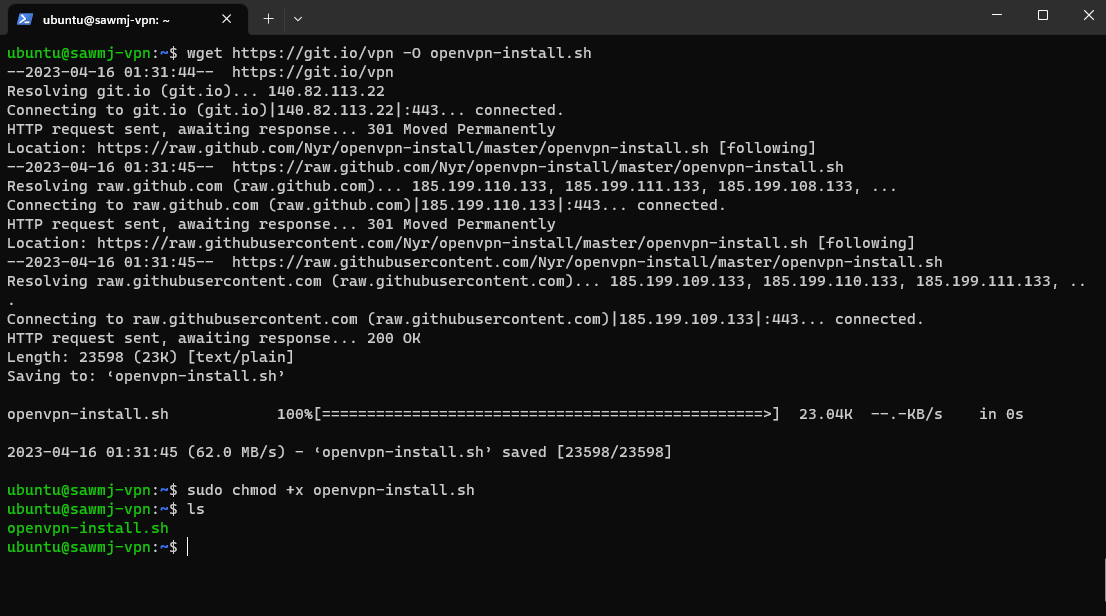
- Download the script and add exec permission
1
wget https://git.io/vpn -O openvpn-install.sh
1
sudo chmod +x openvpn-install.sh
- Run the script with sudo
1
2
sudo ./openvpn-install.sh
# Remember Never run scripts off the internet blindly. Please read the script before executing!
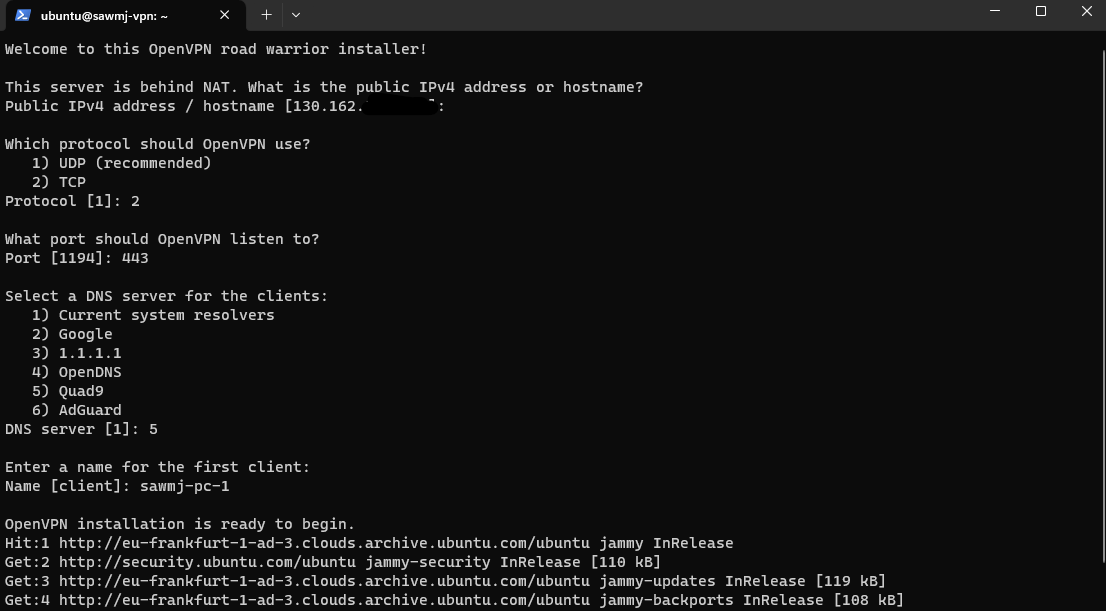
The script will ask you to provide needed information for the configuration of the VPN
You will be asked to provide the IP address
Choose the default, Public IP address of your server (Press Enter)
The protocol OpenVPN will be using
Choose TCP
The port OpenVPN will be using
Choose 443
Choose your preferred DNS server
I prefer Quad9
Type the name of the client
Mine will be “sawmj-pc-1”
Lastly press any key to let the installation proccess begins.
NOTE: Using TCP over port 443 will bypass OpenVPN Blocking in some countries!
- Once the installation is done you will find the client’s vpn file at the
/root/directory, we want to copy it to our home directory1 2
# type the name of the client's name with ".ovpn" at the end sudo cp /root/sawmj-pc-1.ovpn .
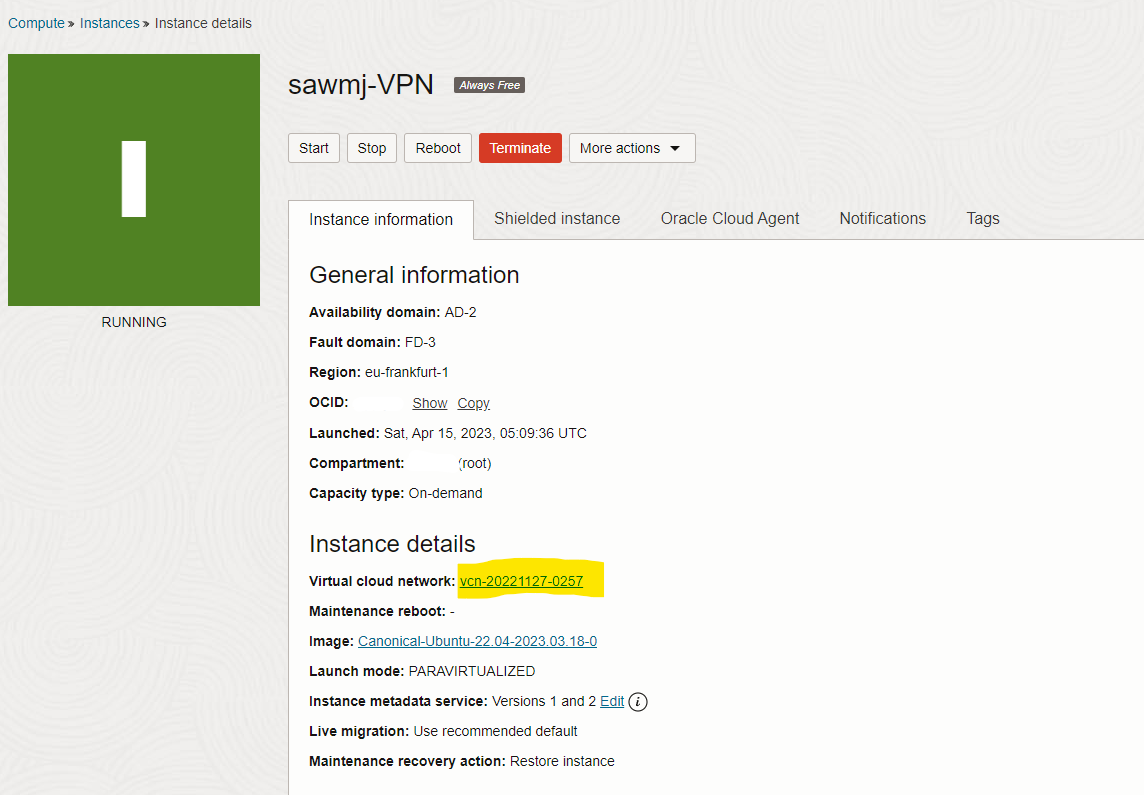
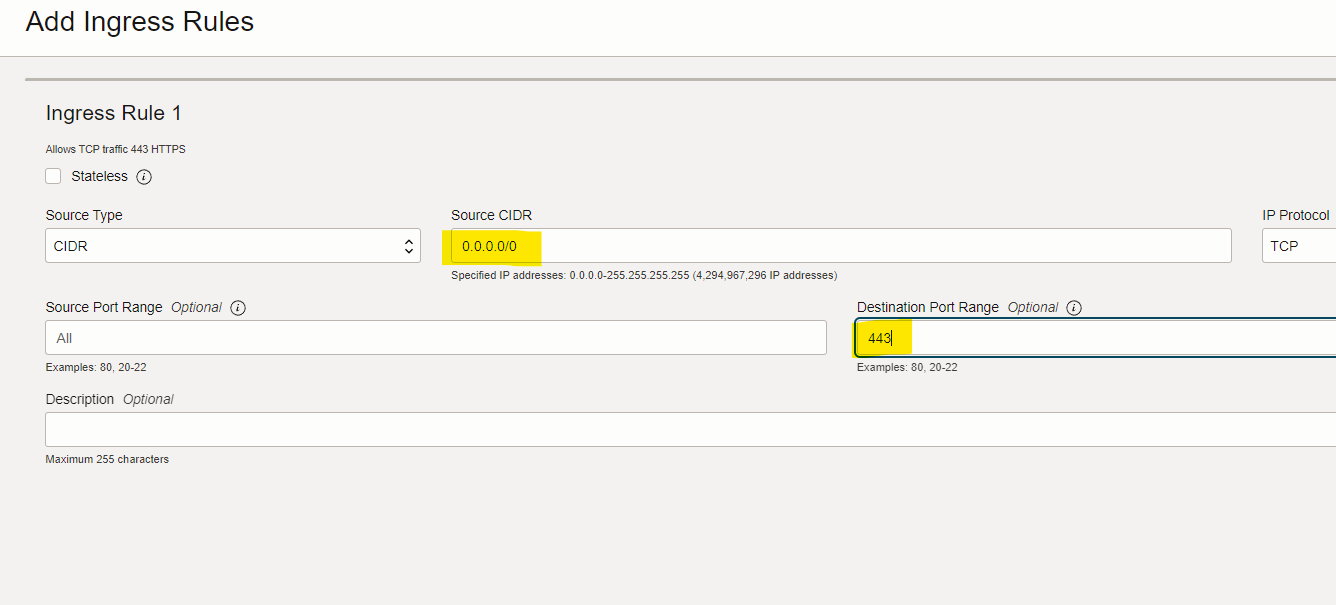
- Now we need to open port 443 via Oracle Cloud
Via the Oracle Cloud UI
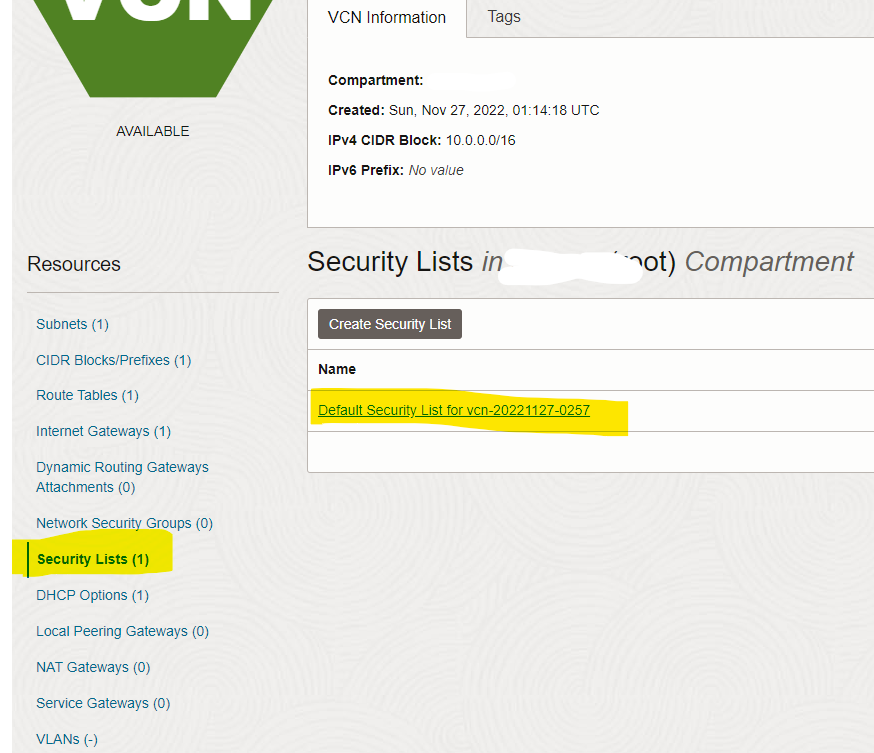
On the left side choose “Security Lists” and then click on the available security list.
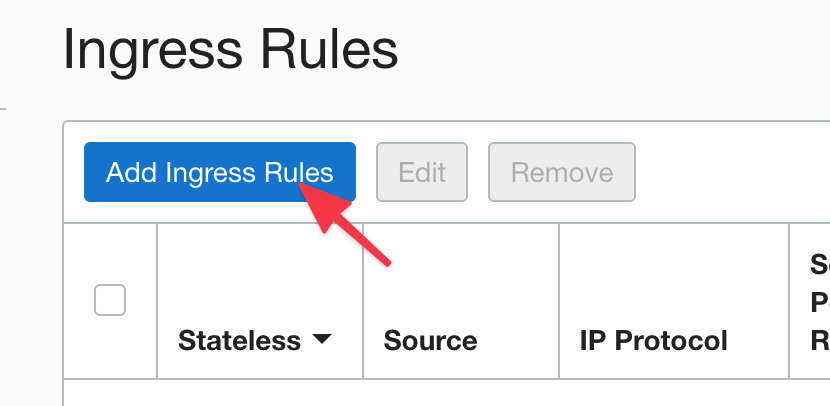
- Click Add Ingress Rules
- Add the following entries
Click Add Ingress Rules
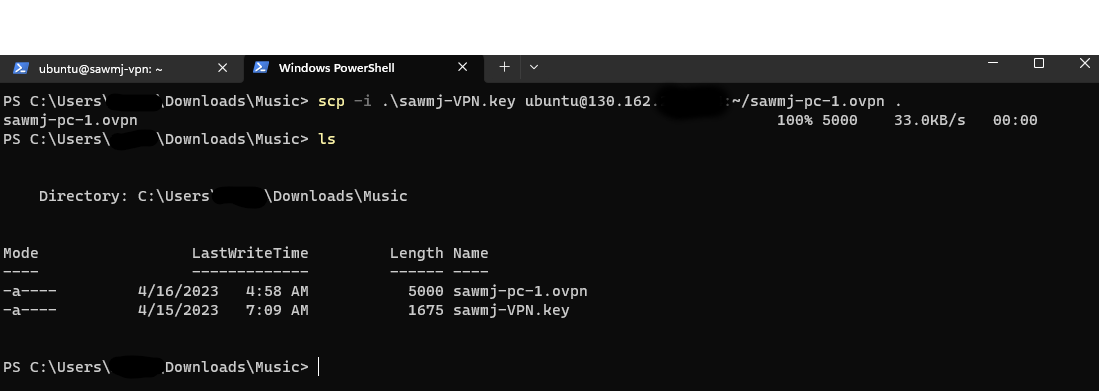
The only step remains is to get the VPN file to our desktop/mobile or wherever.
Open a new terminal and run the following command
1
2
# Change the file names according to your file names!
scp -i .\sawmj-VPN.key ubuntu@130.162.X.X:~/sawmj-pc-1.ovpn .
- Now we have our VPN setup and have our vpn config file all we need is to connect to our VPN
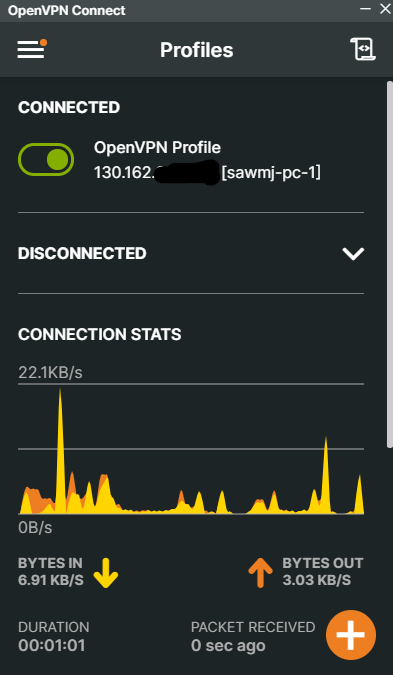
- Download and install the OpenVPN Client for windows here
- Add the VPN file you just transferred and press connect!
Viola! now you’re connected to your Free Private VPN.
Practically we are done but still there’s a little issue that you are going to face in near future, What is it? …
A Hack To Get Away From Reclamation of Idle Compute Instances
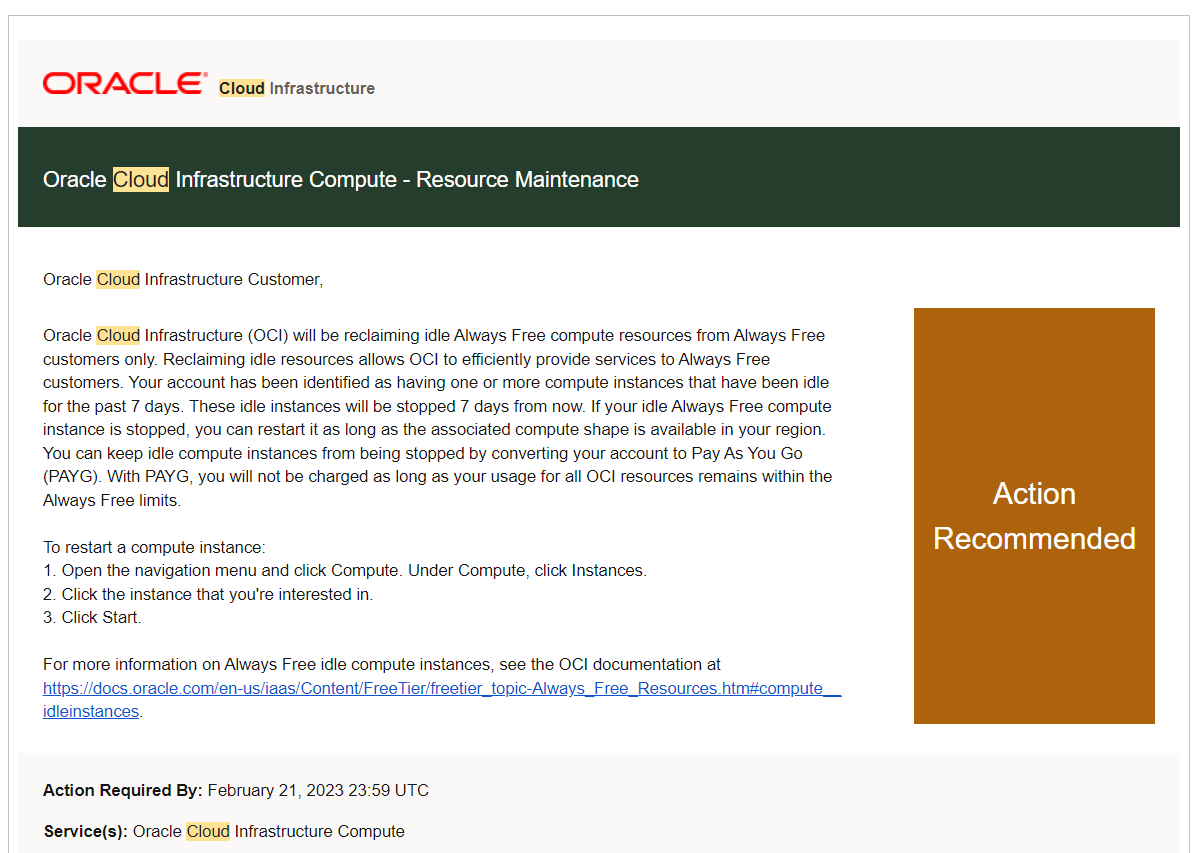
You are happy with your VPN and you’re using it for a while, You suddenly receive this Email from Oracle stating that your server will be reclaimed.
What does that mean? Any “Always Free” Server may be reclaimed by Oracle Cloud if it was idle for a period of 7-days,
In another word, if you don’t use your Server for a week your server will be flagged as idle and it will be reclaimed/deleted.
And we don’t want to Re-Create our VPN server every week, right?
So now we need to understand, What makes Oracle flags instances as idle.
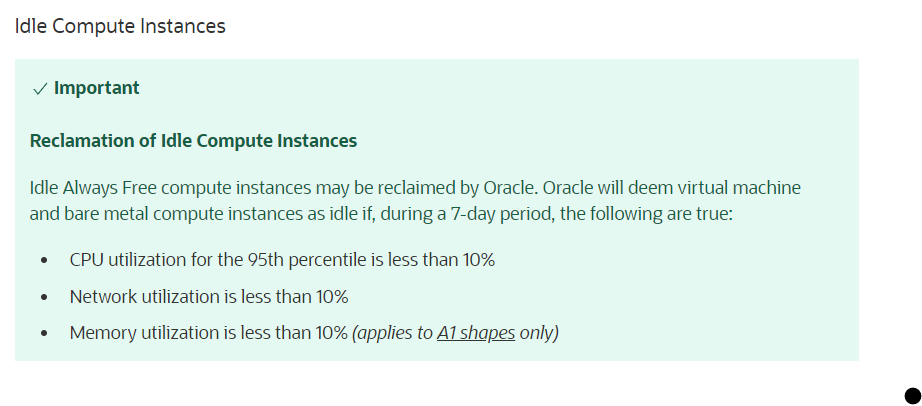
Reading the docs found this:
Means,You need to have the overall usage metrics at least above 10% for at least one of the mentioned resources. Which is something rarely happens for a Private VPN to use all that much of resources
The solution: How about to add a cron job to run a benchmark test on the cpu on a daily basis for 10 minutes? Let’s go and do this!
- Install the benchmark software
1
sudo apt install stress
- Add a job in the crontab
1
crontab -e - Add the following line at the end
1
0 9 * * *  /usr/bin/stress -c 1 -d 1 -t 600
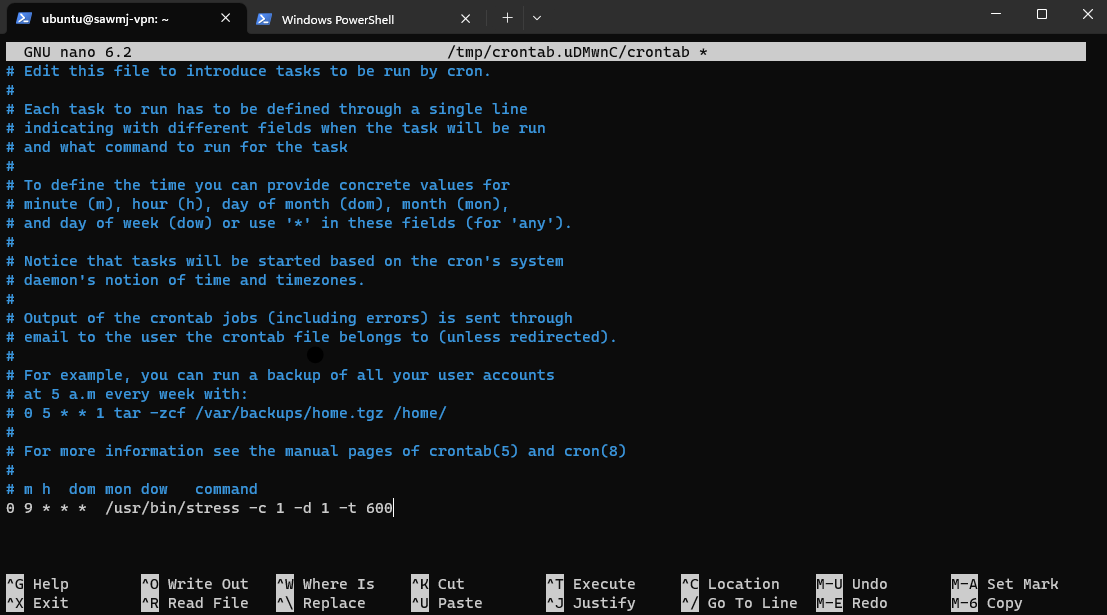 Press “CTRL+X”, Press “y”, Press “Enter”
- You will not get any Email to warn you for Idle Instance anymore.
Hope you enjoyed the content and learnt something new!

